HomeBlogBlogIndoor Halloween Decorating Checklist: Room-by-Room Plan

Indoor Halloween Decorating Checklist: Room-by-Room Plan

Indoor Halloween Decorating Checklist: Room-by-Room Plan

Indoor Halloween Decorating, Without the Chaos

Indoor Halloween decorating goes smoother when you choose the vibe first, handle safety basics early, and save the tiny “wow” touches for last. Our team put together a room-by-room plan that keeps DIY and store-bought pieces looking intentional—without forgetting the small details that make your whole home feel “Halloween,” from the entryway to the bathroom.

If you want a simple way to stay organized, our Indoor Halloween Decorations Checklist (Printable Digital Download) is designed so you can decorate one space at a time and feel “done,” not halfway finished.

Pick a Theme and a “Route” Through the House

Before you buy one more spider or print one more label, lock in two decisions: your theme and your decorating route. This prevents the classic problem of a great living room… and a neglected hallway.

  • Choose one main mood: Classic Haunted, Witchy Apothecary, Vintage Halloween, Cute & Cozy, or Minimal Modern Spooky.
  • Map your path: Entry → Living → Kitchen → Hall → Bathroom → Bedrooms. Hit the high-impact zones first (usually entryway and living room).
  • Limit colors to 2–3 core shades so mixed décor still looks curated (example: black/orange/cream or black/purple/silver).
  • Assign one “statement moment” per key zone: a mantel vignette, a haunted mirror, a centerpiece, or a dramatic hallway lighting scene.

Theme-to-Decor Quick Match

Theme Best materials Signature pieces Lighting vibe
Classic Haunted Cheesecloth, gauze, faux cobwebs, black fabric Creepy portraits, spiders, skulls, candles Flicker + shadows
Witchy Apothecary Glass bottles, labels, twine, herbs (dried) Potion shelf, spellbook stack, cauldron bowl Warm amber glow
Vintage Halloween Paper cutouts, retro prints, kraft paper Pumpkin faces, black cats, pennant banners Soft warm + nostalgic
Cute & Cozy Felt, knit textures, plush accents Smiling pumpkins, friendly ghosts, garlands String lights
Minimal Modern Spooky Matte black, white ceramics, clean lines Monochrome pumpkins, simple silhouettes High-contrast spot lighting

The Checklist Flow: Safety → Layers → Details

Indoor décor looks best when you build it in passes. Start with what keeps your home comfortable and safe, then work from big changes down to the finishing touches.

  • Safety first: Clear walkways, secure cords, keep open flame away from fabric and faux webs, and confirm smoke/CO alarms are working. For extra guidance, review NFPA candle safety and UL extension cord tips.
  • Base layer: Swap everyday textiles (pillows, throws, table runner) to flip the mood fast without adding clutter.
  • Mid layer: Add wall/door moments (banners, silhouettes, removable decals) and one focal vignette per room.
  • Top layer: Finish with tabletop details (mini pumpkins, potion labels, spiders) plus scent and ambience.
  • Contain each room: Fully finish one zone, then move on. That’s the difference between “decorated” and “in progress.”

For more general seasonal safety reminders—especially if you’re hosting—bookmark the U.S. Consumer Product Safety Commission’s Halloween safety guide.

DIY Décor That Looks Intentional (Without Extra Supplies)

You don’t need specialty craft hauls for décor that reads “styled.” Repetition and consistency do the heavy lifting.

  • Potion bottles in minutes: Reuse jars, add printed labels, and tie on twine. For weight, use dry fillers like beans or rice (skip anything that can spoil).
  • Haunted portraits: Print grayscale faces or vintage art, distress edges lightly, and use thrifted frames for an instant wall moment.
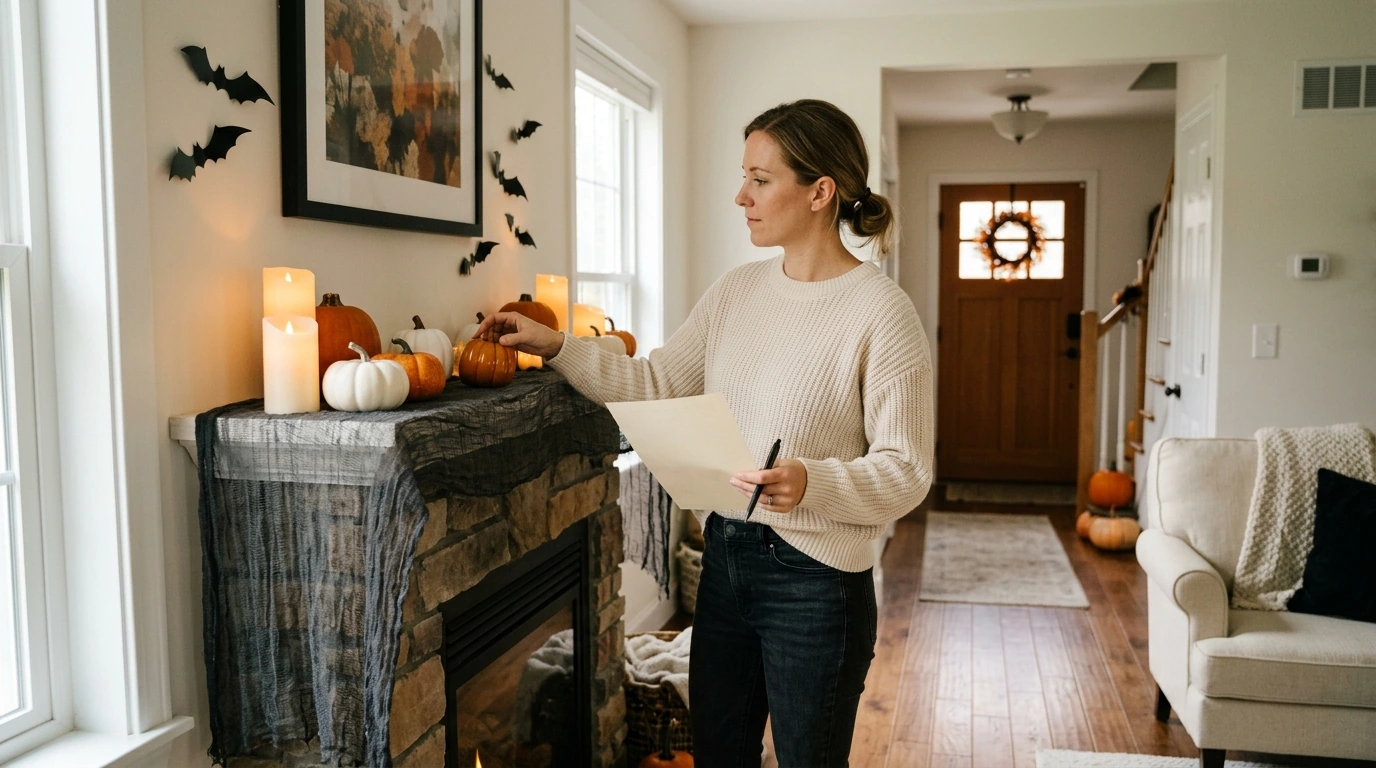
  • Spooky garland shortcut: Cut paper bats or ghosts, string them on fishing line or black thread, and drape across a doorway or mantel.
  • Creepy-cute centerpiece: Cluster different-height candles (LED preferred), mini pumpkins, and one “hero” prop like a skull, raven, or cauldron bowl.
  • Texture trick: Use one dramatic fabric element (black gauze, cheesecloth, or lace) in multiple rooms to visually connect the whole house.

Lighting, Sound, and Scent: The “Spooky” Multiplier

If your décor feels scattered, fix the ambience before buying more items. Lighting alone can make simple props look theatrical.

  • Layer your lighting: Keep one warm base light, then add accent lighting (LED candles, flicker bulbs) to create depth and shadow.
  • Light the display, not the whole room: A spotlighted vignette feels curated—even if the rest of the room stays everyday-livable.
  • Use sound sparingly: Put subtle audio in one zone (entry or hallway) so it reads like atmosphere, not noise.
  • Choose one scent profile: Smoke/amber, cinnamon/clove, or vanilla/spice helps every room feel connected.
  • Plan cord management: Tape down long runs, keep cords off walking paths, and avoid overloading outlets.

Print, Prep, and Decorate in One Weekend

A weekend setup goes faster when you eliminate “decision moments” while you’re decorating. Prep is what keeps you from wandering room to room with a random handful of décor.

If your to-do list is already packed, our team also recommends building in a short “cool down” window during your decorating weekend. Our Calm at Work: Smart Strategies to Manage Stress and Boost Focus (Digital Guide) pairs well with any busy season when you want structure without burnout.

FAQ

What comes with the indoor Halloween decorations checklist digital download?

You get a printable checklist/guide designed to plan and track indoor DIY spooky home décor by room. It’s delivered as a digital download, and you can print it or use it directly on your phone or tablet.

How many rooms does the checklist cover?

It’s organized around common indoor zones like the entryway, living room, kitchen, hallway, bathroom, and bedrooms. You can skip sections you don’t need or repeat them for extra spaces in your home.

What’s the quickest way to make indoor Halloween decorations look cohesive?

Choose one theme and a 2–3 color palette, repeat one texture (like gauze or black fabric) throughout the house, and keep lighting consistent room to room. Those three moves make even simple DIY pieces look intentional.

Was this article helpful?

Yes No
Leave a comment
Top

Yay! 10% Off Just for You!

Join our community and enjoy 10% off your first order. Subscribe for exclusive deals!

Shopping cart

×