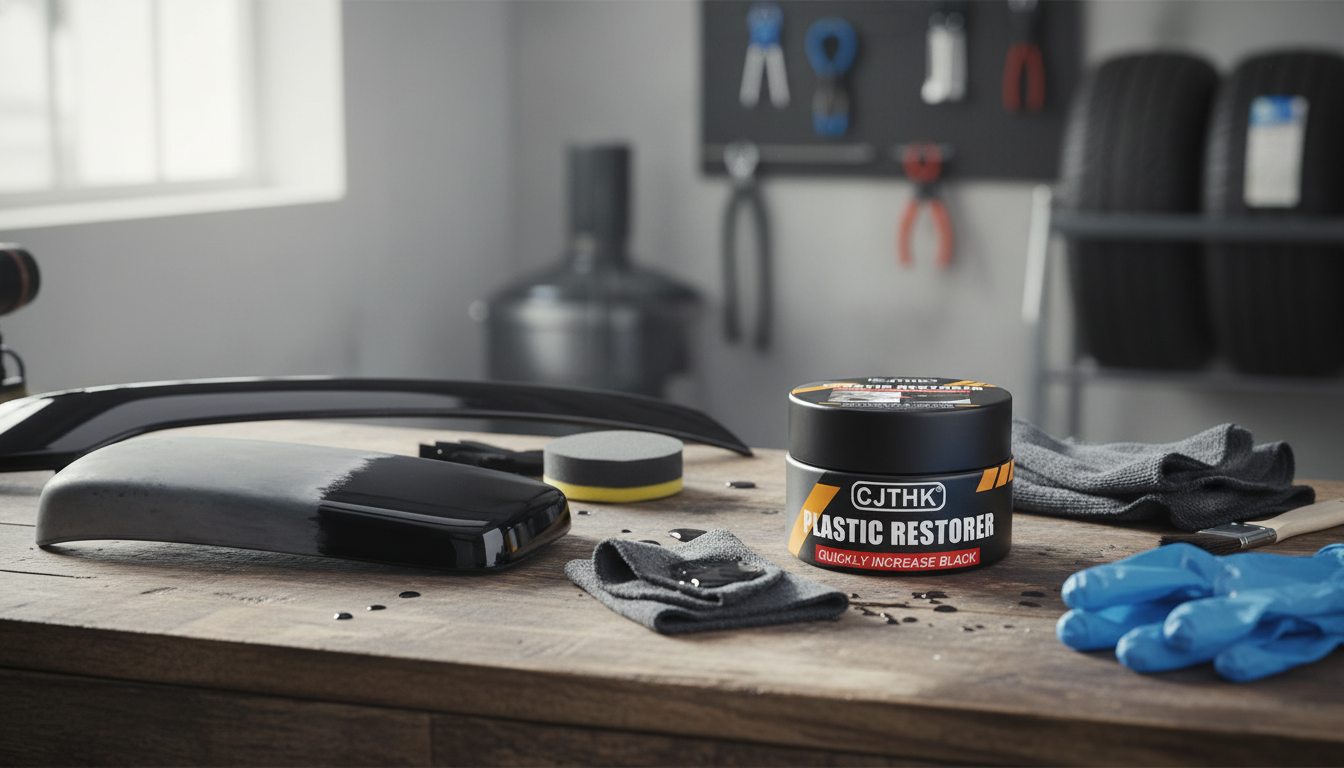
Faded exterior trim and tired-looking leather can make an otherwise well-kept car look older than it is. A restorer designed for plastic and leather helps revive color, add a controlled gloss, and leave a protective layer that’s easier to maintain between washes. Used the right way—thin coats, even spread, and a proper buff—it can bring back that “back-to-black” look without the mess and quick fade that many shiny dressings leave behind.
A restorer is best thought of as a cosmetic refresh plus a protective top layer. On exterior trim, it darkens chalky oxidation and visually evens out uneven black plastics. On interior vinyl and some leather/coated leather, it can reduce the look of light dryness and soften the appearance of minor scuffs.
Sun exposure is one of the biggest drivers of fading and oxidation, especially on exterior plastics. For a quick overview of how UV affects surfaces over time, see the U.S. Environmental Protection Agency (EPA) UV radiation resource.
Most plastic-and-leather restorers shine (literally) on neglected trim and lightly dry-looking interior surfaces—assuming the material is compatible and you avoid the areas where slickness can be a safety issue.
If a restorer ever “fails fast,” it’s usually because it was applied over grime, old silicone dressing, or damp surfaces. Prep doesn’t need to be complicated, but it does need to be thorough.
Consistent maintenance matters too. For broader maintenance basics that help keep finishes looking newer, the NHTSA vehicle maintenance guide is a solid starting point.
The most natural-looking results come from controlling the amount of product and leveling the finish with a clean towel. Aim for “even and deep,” not “wet and oily.”
| Problem level | Best option | Time needed | Typical durability |
|---|---|---|---|
| Light dullness, slight fading | Restorer coating/polish | 15–30 min per area | Weeks to months (depends on washing, sun exposure) |
| Moderate oxidation, patchy black | Restorer + second coat + gentle maintenance | 30–60 min per area | Months with periodic touch-ups |
| Severe gray/chalky plastic, deep discoloration | Dye/paint system or replacement | 1–3+ hours | Longer-term if prepped correctly |
| Leather looks dry/dull but intact | Cleaner + light conditioning/restorer polish (spot test) | 20–45 min | Weeks to months (varies by use) |
Most results last from a few weeks to a few months, depending on UV exposure, how often the car is washed, and how well the trim was cleaned and dried before application. Thin maintenance coats applied before the trim fully fades tend to extend the “back-to-black” look.
It can if too much product is used. Apply sparingly, let it set briefly, then buff thoroughly with a clean microfiber so the surface feels dry-to-the-touch and doesn’t hold dust.
Spot testing is essential because some products can slightly darken or unevenly deepen the tone on light leather. Clean first, use minimal product, and consider a leather-specific conditioner for delicate finishes if the test area shows any unwanted color shift.






Leave a comment