Clear Headlights, Clear Night Drives: A Practical Guide to Cleaning Foggy Headlights
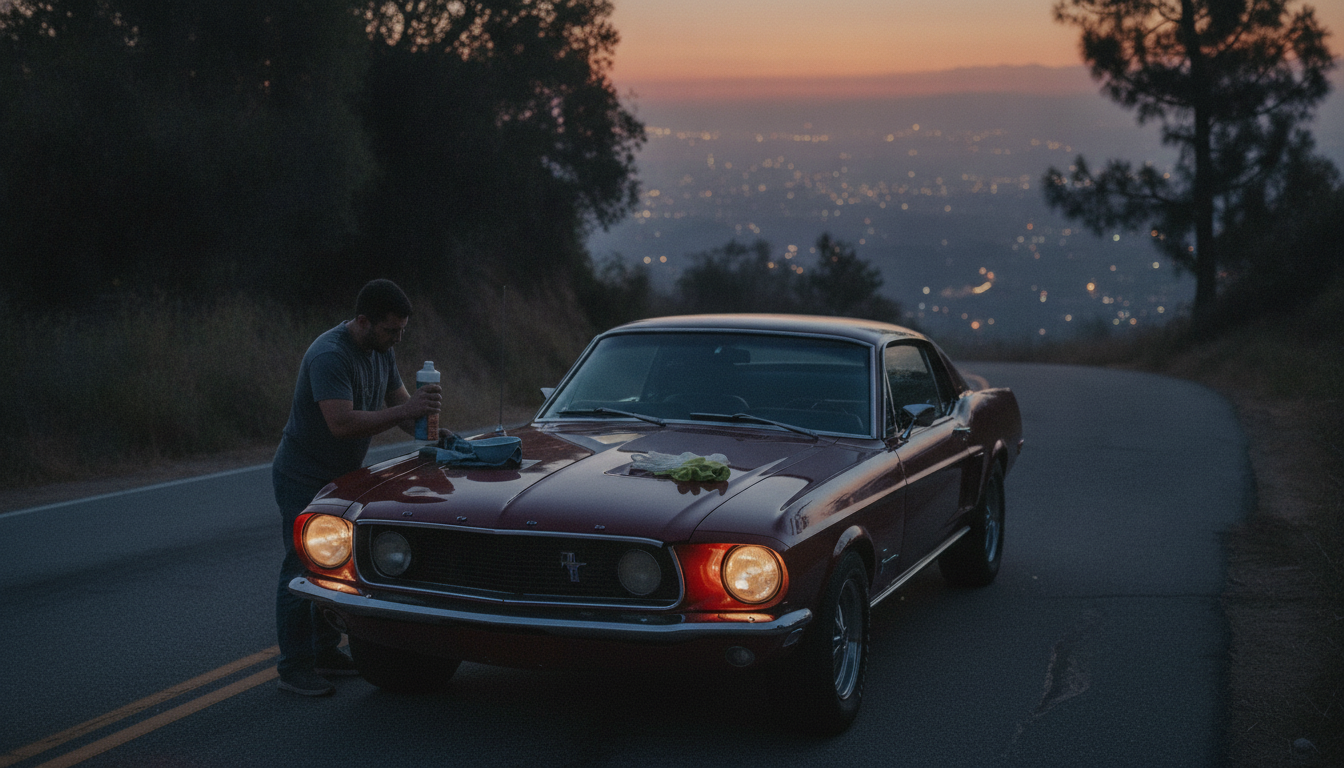
Foggy headlights can cut down nighttime visibility, scatter light into glare, and make road hazards harder to spot. This guide explains why lenses haze over, how to restore clarity safely, and how to keep headlights clear longer—using simple tools and a few proven techniques.
Why headlights get cloudy (and why it matters at night)
Most modern headlight lenses are made from polycarbonate plastic. It’s tough and impact-resistant, but it’s also vulnerable to UV exposure and weathering. Over time, the factory UV-protective layer breaks down and the surface oxidizes, creating that dull, yellowed look.
On top of UV damage, road film, salt, bug residue, and harsh detergents can leave micro-scratches. Those tiny scratches trap grime and diffuse light. The result is light scatter: less usable light on the road and more glare for oncoming drivers—exactly what you don’t want on dark, wet, or poorly marked roads. For general safety context and visibility considerations, see NHTSA and night-driving guidance from AAA.
If the inside of the lens looks hazy or you see repeated condensation, the issue may be internal moisture, venting problems, or coating damage inside the housing. In that case, cleaning the outside won’t fully fix it.
Quick check: decide how aggressive the fix should be
- Light haze with yellowing: start with cleaning + polishing.
- Moderate fogging and a rough texture: wet sanding + polish + UV seal is usually required.
- Cracking, peeling clear coat, or water inside: consider professional restoration or replacement.
- Test at night after any fix: park on level ground and check the beam pattern on a wall to confirm brightness and cutoff.
Restoration options at a glance
| Method |
Best for |
Tools needed |
Time |
Typical durability |
| Wash + polish |
Light haze, surface film |
Car soap, microfiber, plastic polish |
20–40 min |
Weeks to a few months (without UV seal) |
| Wet sand + polish |
Moderate oxidation, rough lens |
Masking tape, 800–3000 grit wet/dry paper, spray bottle, polish |
45–90 min |
Months (better with UV seal) |
| Wet sand + UV seal/clear coat |
Heavier oxidation, long-lasting results |
Sanding supplies + UV sealant or automotive clear coat |
60–120 min |
6–24 months (product and prep dependent) |
| Replace housing |
Severe damage, internal haze/moisture |
New assemblies, basic hand tools |
1–3 hours |
Years |
What to gather before starting
- Car wash soap, water, and a clean microfiber towel (avoid household glass cleaners with ammonia).
- Painter’s tape to protect paint and trim around the lens.
- Plastic polish or headlight polishing compound; optional foam or microfiber applicator.
- Wet/dry sandpaper (commonly 800, 1000, 1500, 2000, 3000 grit) and a spray bottle for lubrication.
- UV protection step: a dedicated UV sealant or a compatible clear coat designed for headlights.
- Nitrile gloves and eye protection—especially if using compounds or clear coat.
If you want a quick reference you can keep on your phone, Clear Headlights, Clear Night Drives | Practical Guide breaks the process into easy checkpoints you can follow during the job.
Step-by-step: clean and polish for light haze
- Wash first, thoroughly. Clean the lens and surrounding area so grit won’t get dragged across the plastic while you polish.
- Mask the perimeter. Use painter’s tape around paint and trim. Polishing residue can stain textured plastic, and aggressive rubbing can scuff clear coat.
- Polish with control. Apply plastic polish with moderate pressure in overlapping circles, then finish with straight strokes to even out the surface.
- Buff and inspect. Wipe residue with a clean microfiber and check from different angles under bright light. A flashlight helps reveal patchy oxidation.
- Know when to step up. If clarity improves but haze remains, move to wet sanding rather than repeating polish endlessly.
Step-by-step: wet sand, polish, and protect for deeper fogging
Common mistakes that reduce clarity or shorten results
Keeping headlights clear longer
- Wash lenses regularly with car shampoo and a soft mitt; avoid stiff brushes at gas stations.
- Reapply a UV sealant periodically, especially in high-sun climates or after harsh winters.
- Park in shade or use a car cover when possible to reduce UV exposure.
- Check headlight aim after restoration; improved clarity can highlight misalignment that was previously masked.
- For a more uniform “fresh” look, restore adjacent exterior plastics and trim so the front end doesn’t look uneven. Car Plastic & Leather Restorer – Back to Black Gloss Coating & Polish can help deepen color on faded trim around the headlights for a cleaner overall finish.
When replacement or professional help makes more sense
FAQ
How long does headlight restoration last?
Polish-only results often last a few weeks to a few months, especially without a UV protectant. Wet sanding followed by a proper UV seal or headlight-safe clear coat commonly lasts 6–24 months, depending on sun exposure, winter chemicals, and how often the lenses are washed and protected.
Can toothpaste clean foggy headlights effectively?
Toothpaste can act as a mild abrasive for very light haze, but results are inconsistent and usually temporary. For noticeable oxidation, a real plastic polish (and wet sanding when needed) plus UV protection delivers clearer, longer-lasting results.
Is it safe to use a clear coat on headlights?
Yes—when the product is designed for headlights or is compatible with polycarbonate and you prep correctly. Apply thin, even coats, follow curing times, and work in a well-ventilated area with eye and skin protection to avoid defects and exposure.
Recommended for you


Leave a comment