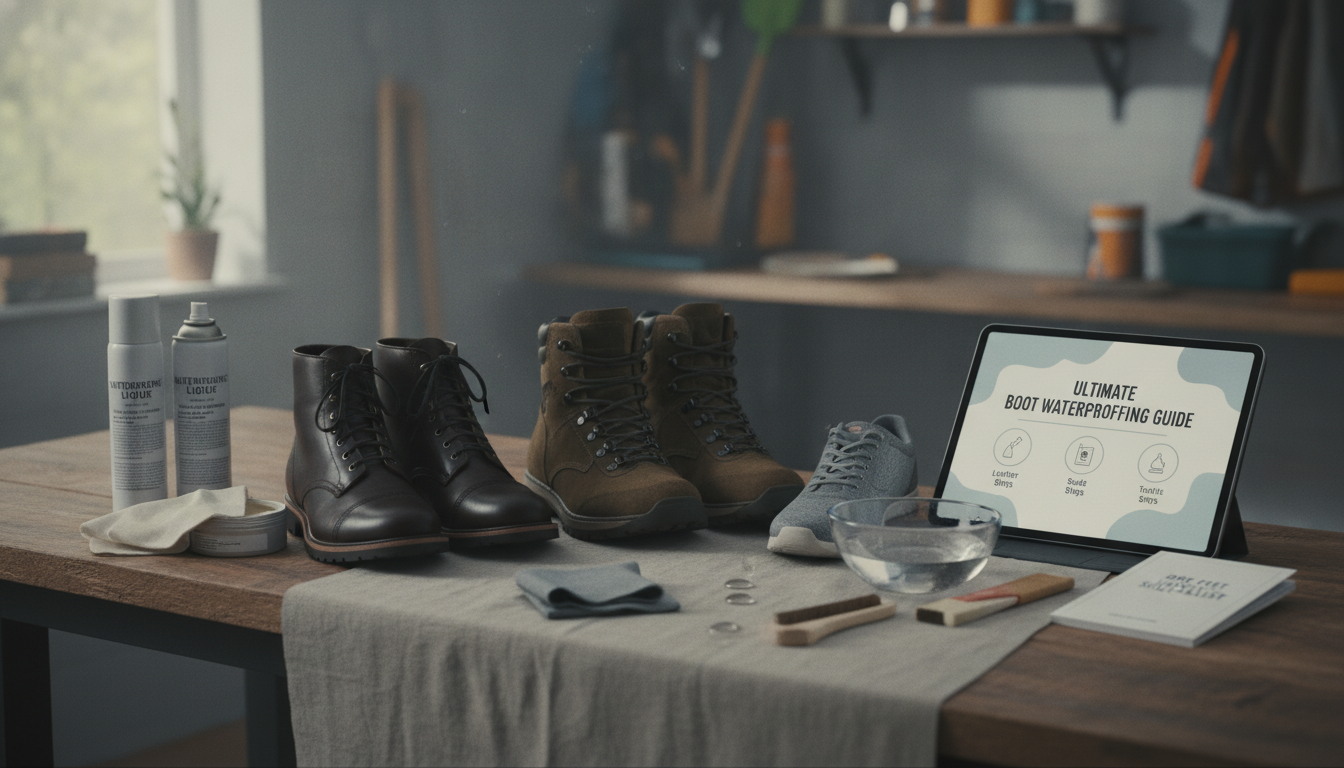
A good waterproofing result starts before you open a bottle or shake a can. First, identify what you’re treating: full-grain leather, suede/nubuck, or synthetic textile. Then check for a built-in waterproof membrane (often printed on the tongue label). Membrane boots usually perform best with breathable water-repellent sprays instead of heavy waxes. For more guidance, see The 4 Best Hiking Boots of 2026 | Reviews by Wirecutter.
Next, map the leak zones. Seam-heavy areas—like the toe flex point, heel counter, and lace rows—often fail first because they bend, abrade, and repeatedly wet out. Finally, inspect the outsole-to-upper join. A stitched welt can wick water along thread lines, while cemented soles and molded rands may leak at small gaps where the upper meets rubber. For further reading, see 7 Best Waterproof Hiking Boots of 2026 (Tested & Reviewed).
Match the plan to how you use the boots: high-output hiking typically needs repellency that preserves airflow, while slow, cold, wet workdays may justify stronger barriers on leather. Either way, treat more than the “flat” panels: focus on stitches, seams, tongue gussets, and the edge/welt area where water loves to creep inward.
Topical treatments work by helping water bead and roll off, or by filling leather pores so moisture can’t soak in quickly. But they aren’t magic armor. If leather is cracked, soles are delaminating, or a waterproof membrane is torn, no spray or wax will permanently fix the problem—those issues need repair.
Sprays and DWR (durable water repellent) treatments are ideal for suede, nubuck, and textile uppers because they maintain texture and breathability, but they wear down faster with grit and brush. Waxes and balms create stronger resistance on smooth leather and help against salt and slush, though they can darken leather and reduce breathability if overused. Seam sealers are best for targeted, persistent leaks along thread lines—on clean, dry seams with enough cure time to set properly.
| Boot material | Best treatment type | Pros | Watch-outs | Typical reapply interval |
|---|---|---|---|---|
| Full-grain leather | Wax / balm + occasional conditioner | Strong water resistance; protects from salt and slush | May darken; can soften leather if overapplied | Every 4–8 weeks (or after heavy soaking) |
| Suede / nubuck | Water-repellent spray (DWR) + suede brush upkeep | Preserves texture; quick application | Less durable in mud/brush; needs frequent touch-ups | Every 2–4 weeks (or after cleaning) |
| Textile/synthetic hikers | DWR spray + spot seam sealing | Maintains breathability; good for membranes | Dirty fabric won’t bead; overspray can reduce ventilation | Every 3–6 weeks (or after washing) |
| Work boots with stitched welts | Edge/welt dressing + wax on uppers | Helps stop wicking at the edge and stitching | Messy if rushed; needs drying time | Every 4–10 weeks (use-based) |
Most “waterproofing failures” are really prep failures. Remove laces and insoles so you can reach the tongue gusset and lace rows—two common funnels that send water straight inside. Dry-brush loose grit first; dirt left in place creates tiny channels that defeat repellency and abrade coatings faster.
Clean based on material: use a leather cleaner or saddle soap for smooth leather, a gentle technical wash for textiles, and a suede-specific cleaner for nap materials. Rinse thoroughly—soap or detergent residue can stop water from beading. Then air-dry at room temperature. Avoid direct high heat (space heaters, hair dryers on hot, fireplaces), which can crack leather and weaken adhesives. For more detailed boot-cleaning guidance, see REI Co-op’s hiking boot cleaning instructions.
Once dry, brush suede/nubuck lightly to lift the nap for even spray coverage.
When boots wet out mid-trip, focus on heat retention and friction control. Change into dry socks if you have them. If you don’t, wring socks and insoles and use a temporary vapor barrier (like a clean plastic bag) to slow heat loss. Cold, wet feet can escalate quickly in bad weather; the National Park Service overview on hypothermia prevention explains why staying dry and warm matters.
For a quick-reference, checklisted workflow you can follow before trips, use the Ultimate Boot Waterproofing Guide and Dry Feet Outdoor Survival Checklist (eBook).
If you need reliable power for airflow drying, charging devices, or running small gear during stormy outages or base-camp trips, consider the Portable 200W Solar Generator with AC Outlet & USB Ports. For glossy plastic/leather surfaces (not suede/nubuck), the Car Plastic & Leather Restorer – Back to Black Gloss Coating & Polish can help refresh appearance after scuffs, but it’s not a substitute for boot-specific waterproofing on performance footwear.
Reapply when water stops beading, after deep cleaning, or after repeated wet outings. As a general range, smooth leather often needs wax/balm every 4–8 weeks (sooner with heavy soaking), while suede/textile DWR typically needs refreshes every 2–6 weeks depending on abrasion and mud.
Yes—heavy waxes can reduce breathability, especially on membrane hiking boots, while membrane-friendly DWR sprays are usually safer for airflow. Use compatible products and apply light coats so the upper can still vent moisture.
Check common funnels first: tongue gusset seams, toe flex seams, and edge/welt wicking, then spot-treat with seam sealer where needed. If leaks persist, inspect for structural issues like cracked leather, loose hardware holes, delaminated soles, or a damaged liner/membrane—those typically require repair or resoling.


Leave a comment