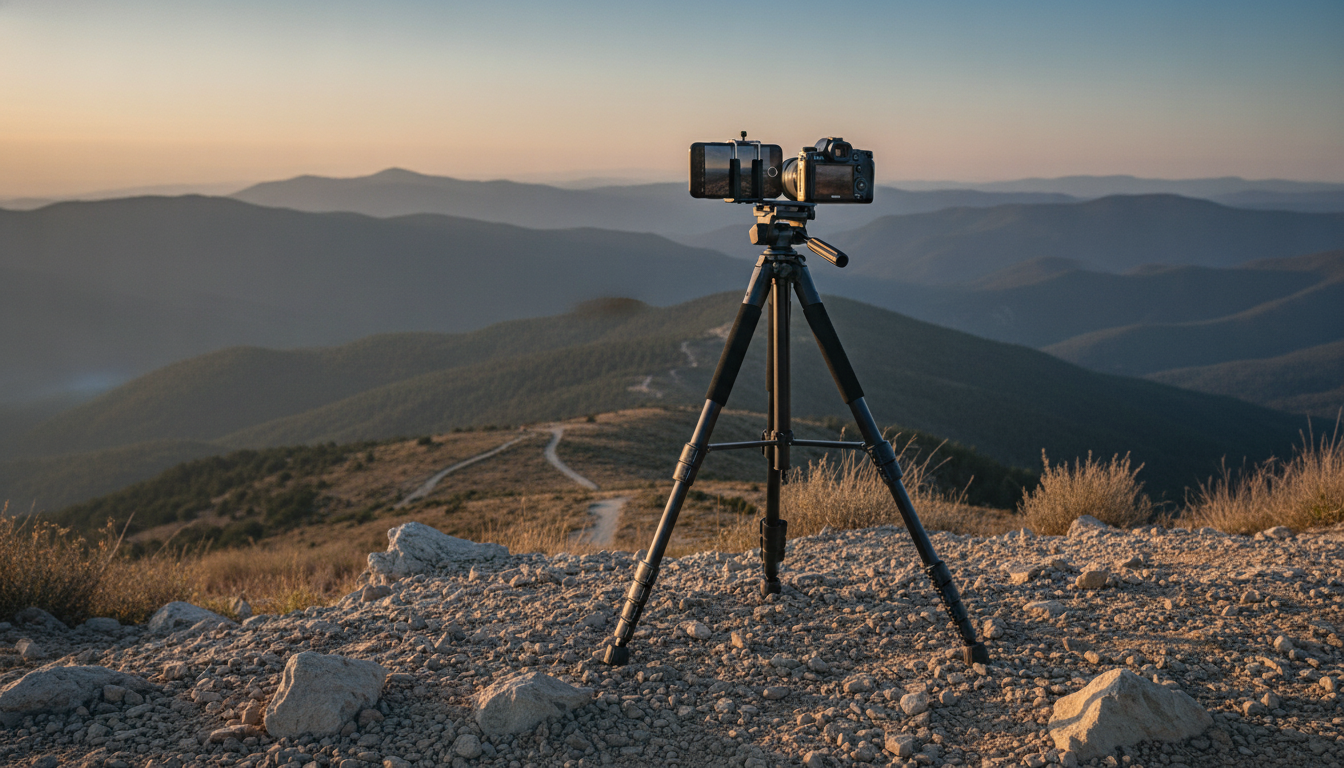
A dependable tripod makes sharper photos, smoother video, and easier hands-free shooting—especially on the go. This lightweight travel tripod extends up to 68 inches, packs down for portability, and supports both cameras and phones for everything from landscapes to vlogs. Whether you’re capturing a skyline at blue hour or recording a tutorial in a hotel room, a stable stand helps keep framing consistent and reduces the little shakes that make footage look less polished.
If you’re comparing options, it also helps to review general tripod selection guidance from trusted sources like B&H Explora and Manfrotto.
A 68-inch portable tripod is designed for real-world travel use where speed, simplicity, and flexibility matter as much as height.
For a ready-to-pack option that works with both phones and cameras, see the Lightweight Travel Tripod 68″ Portable Camera & Phone Stand for Photography & Video.
Lightweight tripods live in the sweet spot between portability and steadiness. The best choice depends on what you shoot and how often you move.
For phone shooters, pairing a stable tripod with your camera app’s timer/remote features can noticeably reduce shake; Apple’s basics are outlined in Apple Support.
Most “wobbly tripod” complaints come down to setup habits. A few quick steps can make a compact tripod feel far more solid.
One practical routine: unlock legs → extend top sections → set stance → level → tighten head → compose. Reverse it when packing so locks and joints stay aligned.
The advantage of a taller travel tripod isn’t just height—it’s how easily you can place the camera where you want it without awkward compromises.
If you film outdoors for extended sessions, keeping your devices topped up can be just as important as keeping them steady. For off-grid charging and powering small gear, consider the Portable 200W Solar Generator with AC Outlet & USB Ports.
| Device | Recommended setup | Stability tip |
|---|---|---|
| Smartphone | Use the phone holder; choose portrait or landscape | Keep legs wider for touch-screen taps |
| Compact camera | Mount directly to the tripod screw | Avoid extending the thinnest leg sections fully |
| Mirrorless/DSLR (light kit) | Mount body + small lens; consider a remote/timer | Position lens over the center; lock head firmly |
| Action camera | Use the proper adapter to standard mount | Use a low stance for fast movement scenes |
Lightweight gear lasts longer with small, consistent habits—especially after beach days, rain, or dusty trails.
Eye-level framing reduces bending and helps keep portraits and talking-head video looking natural. A 68-inch maximum height often gets the camera or phone close to standing eye level, though the real working height depends on the head and the mount you’re using.
Many can, as long as there’s a standard mounting screw and the phone holder can be removed or moved out of the way. The key is staying within load limits and balancing heavier cameras so the head doesn’t droop or tip.
Lower the height, widen the stance, and prioritize the thickest leg sections for the most rigidity. If the tripod supports it, add modest ballast, and avoid touching the phone during recording by using a timer or remote.



Leave a comment