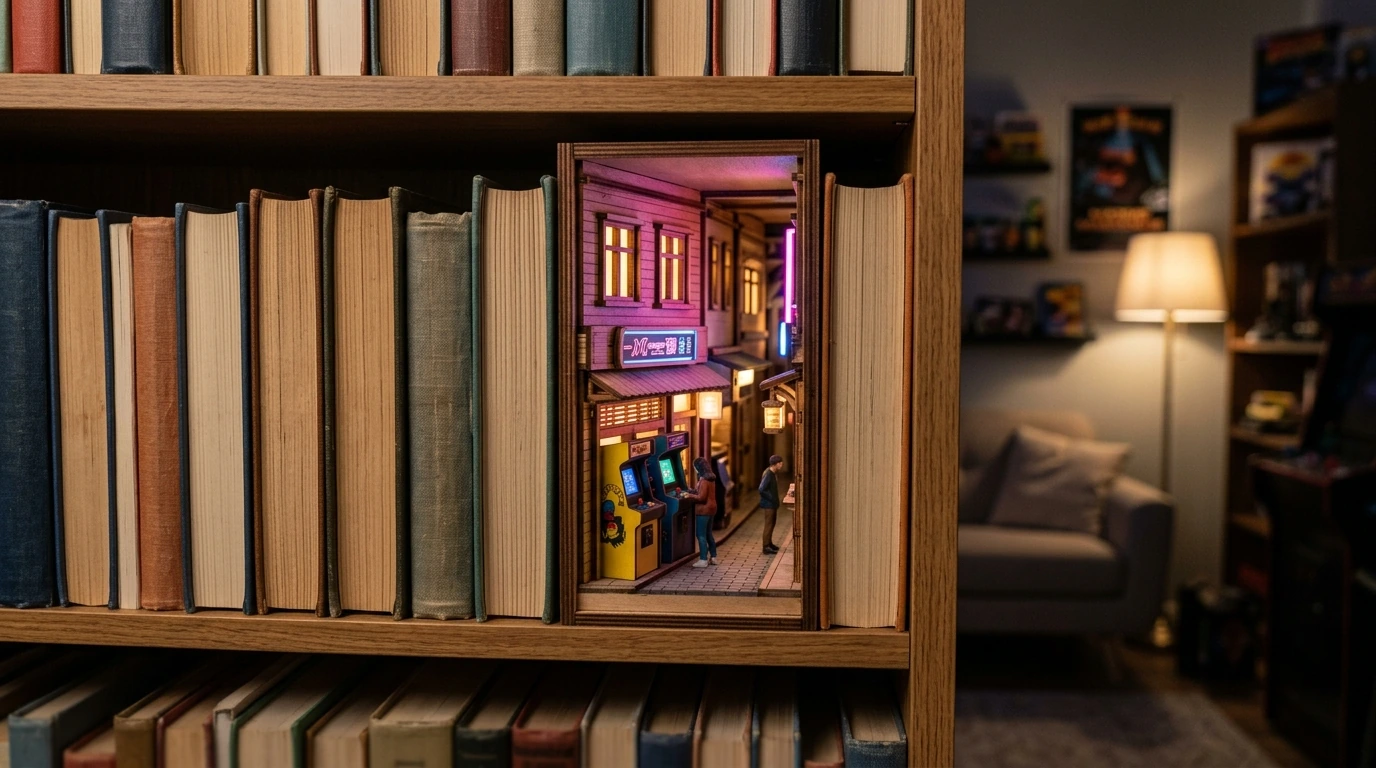
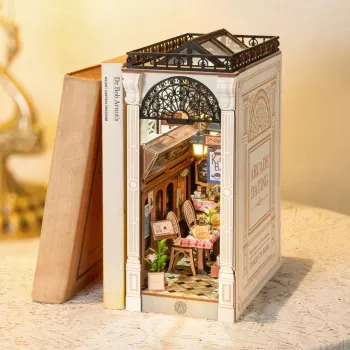
Turn an ordinary bookshelf into a miniature scene that glows after dark. The Arcade Romance Book Nook DIY Wooden Shelf Insert with Lights is a buildable wooden diorama designed to slide between books like a tiny storefront—part cozy date-night, part retro arcade. Once assembled, its layered details and integrated lighting create the kind of “peek-in” depth that makes a shelf feel intentional, styled, and personal.
A book nook works differently than a normal shelf decoration: instead of sitting in front of books, it becomes a visual “break” between spines, like a little window cut into your library. This arcade romance design helps a shelf read as curated rather than crowded—especially when you place it between taller hardcovers that naturally frame the scene.
The charm of this insert is in the perspective. Instead of a flat miniature, it’s built with layered interior architecture that draws the eye inward, so the scene looks deeper than its actual footprint. The arcade cues—signage, storefront elements, and a “neon-night” vibe—pair naturally with a warm LED glow, giving it that after-hours ambience without needing a bright room.
If you love the cultural nostalgia behind arcade spaces, background reads like the Smithsonian’s coverage of arcade history add extra context for why those lights-and-signs environments still feel magical: Smithsonian Magazine.
The integrated lighting is meant to do what miniature lighting does best: emphasize depth, edges, and tiny details—rather than flood a shelf with brightness. The biggest “pro move” is planning your wire routing early, before anything is permanently closed up. Dry-fitting the light path and testing frequently keeps the final front view clean, with fewer visible leads and fewer surprises late in the build.
| Step | Why it matters | Quick tip |
|---|---|---|
| Dry-fit the light path | Prevents rework after panels are glued | Tape the wire temporarily to confirm the route |
| Keep glue away from LEDs | Avoids cloudy lenses and dim spots | Use a toothpick to control small glue dots |
| Test before final closure | Catches loose contacts early | Turn lights on after each major stage |
| Secure slack behind the scene | Reduces bulging panels and visible wiring | Bundle with a small tie or paper tape |
| Tool | Use during assembly | Alternative |
|---|---|---|
| Precision tweezers | Placing small signs and trim | Fine-tip needle-nose pliers |
| Craft glue (clear-drying) | Bonding wood details neatly | Wood glue used sparingly |
| Clips/rubber bands | Holding panels square while curing | Painter’s tape |
| Sandpaper/file | Smoothing tabs and edges for a flush fit | Emery board |
| Hobby knife | Cleaning small burs and tight slots | Small scissors (limited use) |
If you’re building a calmer, more intentional corner to display it, pairing the finished nook with a compact digital guide like Calm at Work: Smart Strategies to Manage Stress and Boost Focus can round out a “slow down and recharge” gift bundle—one tactile project plus one practical reset.
For general consumer safety guidance when assembling small, detailed products (especially around children or pets), the U.S. Consumer Product Safety Commission is a helpful reference: CPSC.
If you want a shelf insert that reads as both handcrafted and cinematic, the Arcade Romance Book Nook DIY Wooden Shelf Insert with Lights is designed specifically for that “mini world between books” effect—complete with lighting to keep it visible long after the room lights dim.
| Detail | Value |
|---|---|
| Product page | https://exelline.com/arcade-romance-book-nook-diy-wooden-shelf-insert-with-lights/ |
| Price | 64.51 USD |
| Availability | In stock |
Yes—patient beginners can do well by dry-fitting pieces before gluing, using small amounts of clear-drying adhesive, and testing the lights often. Basic tools like tweezers, sandpaper, and clips help keep small details aligned and clean.
The lighting is typically an LED insert setup that you connect during assembly following the included instructions. Plan the wire route early and test connections before closing panels so you can correct any loose contact without reopening the scene.
It’s designed to sit as an insert between books on standard shelving. Measure your shelf height and depth first, and leave a little extra room behind the insert for wire routing and access to any switch or connector.




Leave a comment