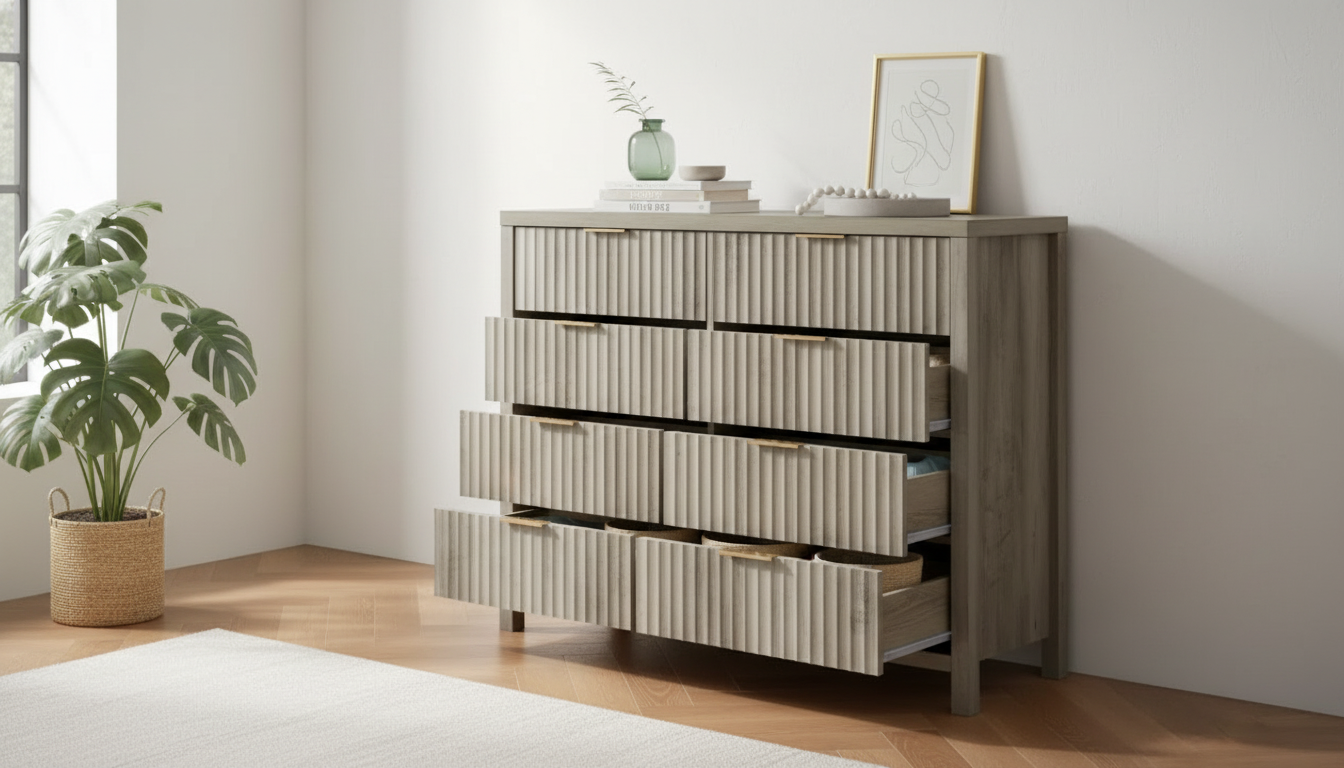
A 9 drawer dresser can feel like a mini closet—if each drawer has a job. Our team’s approach is to group by category, assign zones by how often you reach for items, and use simple dividers so everything stays put. Start by emptying all drawers, wiping them down, and sorting items into piles: daily basics, work/going-out, lounge, seasonal, accessories, and “relocate.”
Think in rows (top/middle/bottom) before you think in drawers. The top row is for daily grabs; the middle row is for frequent clothing categories; the bottom row is for bulkier, heavier, or less-used items.
Use this layout as a starting point, then adjust to your routine:
Top left: underwear & bras (with small bins)
Top middle: socks (pair and file them)
Top right: accessories (belts, ties, watches, jewelry trays)
Middle left: tees/tanks (file-fold vertically)
Middle middle: activewear/leggings
Middle right: sleepwear/loungewear
Bottom left: denim (stack by type: jeans/shorts)
Bottom middle: sweaters/knits (avoid overstuffing to prevent stretching)
Bottom right: seasonal items or extra linens
Use drawer dividers for small items, and choose one folding method (file-fold works best for visibility). Keep the “one-touch rule”: if you have to dig, the drawer is too full. Leave about 15–20% open space so items slide and breathe.
Place heavier items in lower drawers to reduce tipping risk. Open one drawer at a time and anchor the dresser to the wall—especially in homes with kids or pets.
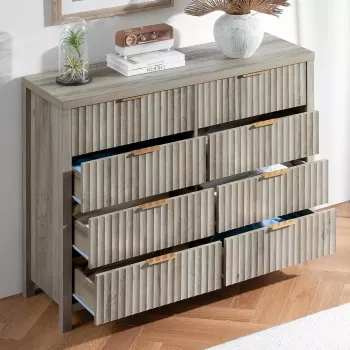
For more storage inspiration and a modern dresser styling approach, visit our guide: modern fluted dresser storage ideas.
Give each drawer a single category and add dividers for anything smaller than a folded shirt. Do a quick 2-minute reset once a week to put strays back in their assigned spot.



Leave a comment