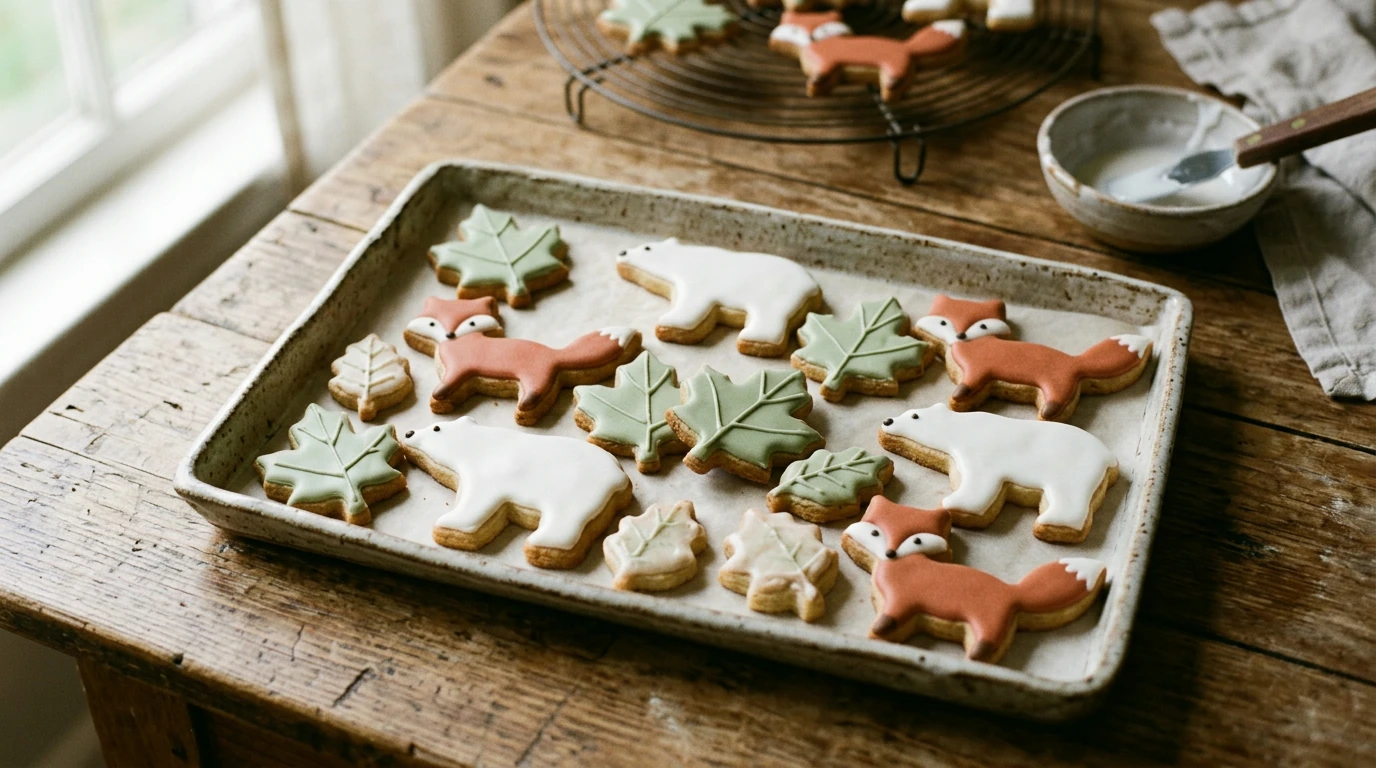
A tray of cutout cookies can suggest a little forest without requiring an afternoon of intricate piping. With polar bears, foxes, and leaves, you have three shapes that work together before you add a drop of icing. Our approach is to choose a dough that keeps its outline, give each shape a simple finish, and arrange the finished cookies so the leaves bring the scene together.
For animal-shaped cookies, choose a roll-out recipe intended for cutouts. These recipes are designed to produce edges that remain recognizable after baking, which matters when a bear’s ears or a leaf’s tip are part of the design. A favorite drop-cookie dough may taste wonderful, but if it spreads widely in the oven, the shapes can lose their definition.
Follow your chosen recipe’s instructions for chilling. If it calls for cold dough, give it that time before rolling or cutting; trying to rush a soft dough often makes clean cuts harder. Roll the dough to an even thickness so the cookies bake consistently. Then place your cuts close together, leaving just enough room to lift each shape without distorting it. Fewer scraps mean fewer rerolls, and that helps keep the batch moving.
Transfer the cutouts to your prepared baking sheet using the method your recipe recommends. Bake at that recipe’s temperature and for its stated time range, watching for its signs of doneness rather than applying one timing rule to every dough. Different recipes, thicknesses, and cookie sizes can all change when a batch is ready.
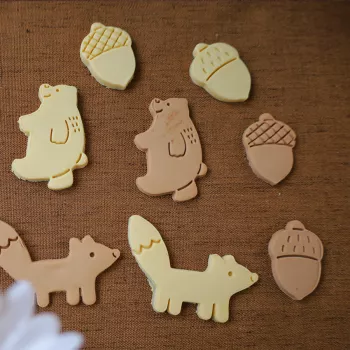
Our Nordic Forest Animal & Leaf Cookie Cutter Set gives you polar bear, fox, and leaf cutouts to repeat across a coordinated tray. Decide how many of each you want before cutting. An even mix looks lively, while extra leaves can fill the spaces between the animals when you serve them.
You can keep the decorating plan to one icing color per shape. Light-colored icing makes the bears easy to identify; orange or rust tones distinguish the foxes; and green gives the leaves a clear role in the woodland scene. Those colors are suggestions for icing you prepare or choose, not accessories included with the cutters. If you would rather use a different palette, keep the same idea of giving each shape its own consistent finish.
| Shape | Easy finish | Optional detail |
|---|---|---|
| Polar bear | Light-colored icing | Add a small face once the base has set |
| Fox | Orange or rust-colored icing | Use a contrasting color for the face |
| Leaf | Green icing | Pipe a single center vein |
On the serving tray, try placing a few leaves between each pair of animals instead of sorting all three shapes into separate rows. That small change makes the assortment read as one forest scene. There is no need to make every cookie identical: a mix of plain leaves, iced foxes, and lightly finished bears can still feel deliberate when the colors and shapes repeat.
Let the cookies cool completely before you add icing. Warm cookies can make a neat finish difficult, so use the cooling time to clear your work area and prepare your colors. If you are making icing from a recipe, follow its directions for consistency and setting time; a thin glaze and a thicker piping icing will behave differently.
Work through one shape at a time. Finish the bears first, then the foxes, then the leaves—or start with whichever color you have ready. Keeping each color together reduces switching between bowls and makes it easier to see whether you have enough icing for the cookies in front of you. Add faces and veins only if you feel like it. A single center line on a leaf or a few dots on a bear can be plenty.
Give decorated cookies time to set before stacking or packing them, following the icing recipe’s guidance. If you need a quicker batch, decorate just a handful of cookies as accents and leave the rest plain. The cutout shapes will still carry the theme. For a relaxed weekend baking session, our Calm at Work digital guide is a separate resource for planning a less hectic week; it is not a baking tool or part of the cutter set.
These cutouts can suit a winter gathering, a woodland-themed party, or a weekend at home with someone who enjoys decorating. The shapes are not tied to one season: change the icing colors, or skip icing altogether, to fit your occasion. When you are ready to serve, move the cookies gently onto a tray and tuck the leaves around the bears and foxes to connect the grouping.
For leftovers, use your cookie recipe’s storage directions and account for any icing, toppings, or fillings you added. Ingredients with particular refrigeration needs should be stored according to their own instructions. For general kitchen handling, FoodSafety.gov’s Four Steps to Food Safety is a useful reference.
If you are planning a coordinated batch, explore our Nordic Forest Animal & Leaf Cookie Cutter Set and choose a cutout recipe you already enjoy. A few repeatable shapes and a simple decorating plan are enough to make the tray feel complete.
Choose a roll-out recipe intended for cutout cookies. Follow its chilling and baking instructions to help the animal outlines stay recognizable.
No. One icing color per shape works well, and you can leave some cookies plain while decorating a few as accents.






Leave a comment