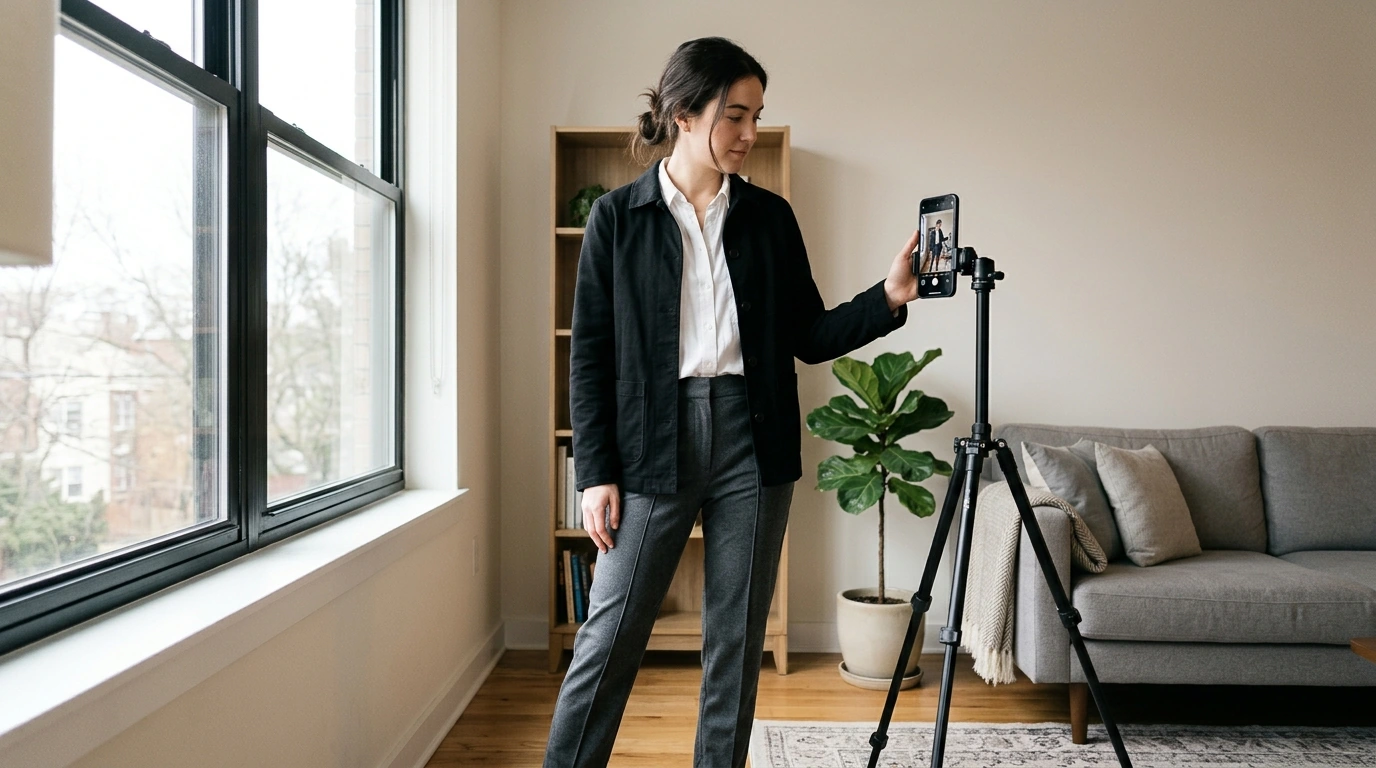
A great outfit can look flat, washed out, or oddly colored when the light works against it. You don’t need an elaborate setup to improve the result. Start with a light source you can control, take a test photo, and adjust until your face and clothing both look clear. Our team uses the same basic checks whether we’re photographing a look indoors or outside. For more guidance, see Digital Photography posts | Blog.
Before changing camera settings, find soft, even light. Indoors, stand near a window that isn’t receiving harsh direct sun. Take one photo facing the window, then turn slightly to see how the light changes the shape of your outfit. If one side becomes too dark, move closer to the window or turn back toward it. For further reading, see “LIGHTS, Film, Action!” | DAN Southern ….
For believable clothing color, avoid mixing daylight with warm ceiling bulbs. Turn the bulbs off when window light is strong enough; otherwise, use one consistent indoor light source. Outdoors, open shade can give you gentler shadows, while earlier or later daylight may be easier to work with than midday sun. Check your face and your full outfit in the same test frame. Light that flatters your face may still leave a jacket or pair of pants in shadow.
Use this table to choose a starting position, then make small adjustments for your fabric, color, and location. A dark outfit may need more light on its details; a pale one may need less brightness to keep its texture visible.
| Situation | Starting position | What to check |
|---|---|---|
| Window light | Stand beside a large window, away from direct sun | Are your face and clothing evenly lit? |
| Outdoor shade | Face toward the brighter open sky | Does the background look much brighter than your outfit? |
| Direct sun | Change your angle or move into shade | Are shadows hiding garment details? |
| Single lamp or light | Place it slightly to one side and above face level | Are colors and skin tones consistent? |
After you choose a position, look at how the light behaves on the actual clothes. Satin, coated materials, and other shiny fabrics can produce bright reflections that pull attention away from the outfit. Try turning your body or moving the light a little before changing exposure. If you use a lamp, keep other lights of noticeably different colors off when possible. For more on how direction affects a portrait, see Adobe’s portrait lighting tips.
Take one test photo before shooting a full set. Zoom in and look for white areas that have lost their folds or stitching, dark areas that hide seams, and color casts that make the clothes look different from what you see in person. If a white shirt appears as a blank bright patch, move out of direct light or lower the exposure slightly. If a black jacket loses its shape, turn it toward the light rather than brightening the entire image immediately.
On a phone, tap the outfit on the screen to set focus and exposure, then adjust brightness if your camera allows it. Take a full-length frame to show the silhouette and a closer frame to show fabric texture or a styling detail. You can also compare the photo with the garment in the same lighting before moving on. That quick comparison helps you catch an odd color cast while it’s still easy to change your position.
A short routine makes outfit photos easier to take—and easier to compare:
If you’re comparing multiple looks, keep the camera at a consistent height and distance. Otherwise, a change in perspective can make one outfit seem dramatically different even when the fit hasn’t changed. Scan the edges of the frame, too: a cut-off shoe or distracting object is simpler to fix before you shoot than afterward. When the setup works, note where you stood and placed the camera so you can use it again.
If you want to keep exploring the topic, our Light Up Your Style outfit photography guide is an optional next step. For a setup that needs power away from an outlet, you can also consider our Portable 200W Solar Generator with AC Outlet & USB Ports; first confirm that your light’s power requirements suit it. Neither is necessary to start: consistent light and a careful test photo will take you a long way.
Start near a window with soft, indirect daylight. Turn slightly and take a test photo to check both your face and your clothing.
Move out of harsh direct light and lower exposure slightly if the garment loses visible detail. Check the result before taking the full set.
No. Consistent window light or outdoor shade is a practical starting point, and careful positioning often matters more than extra equipment.



Leave a comment