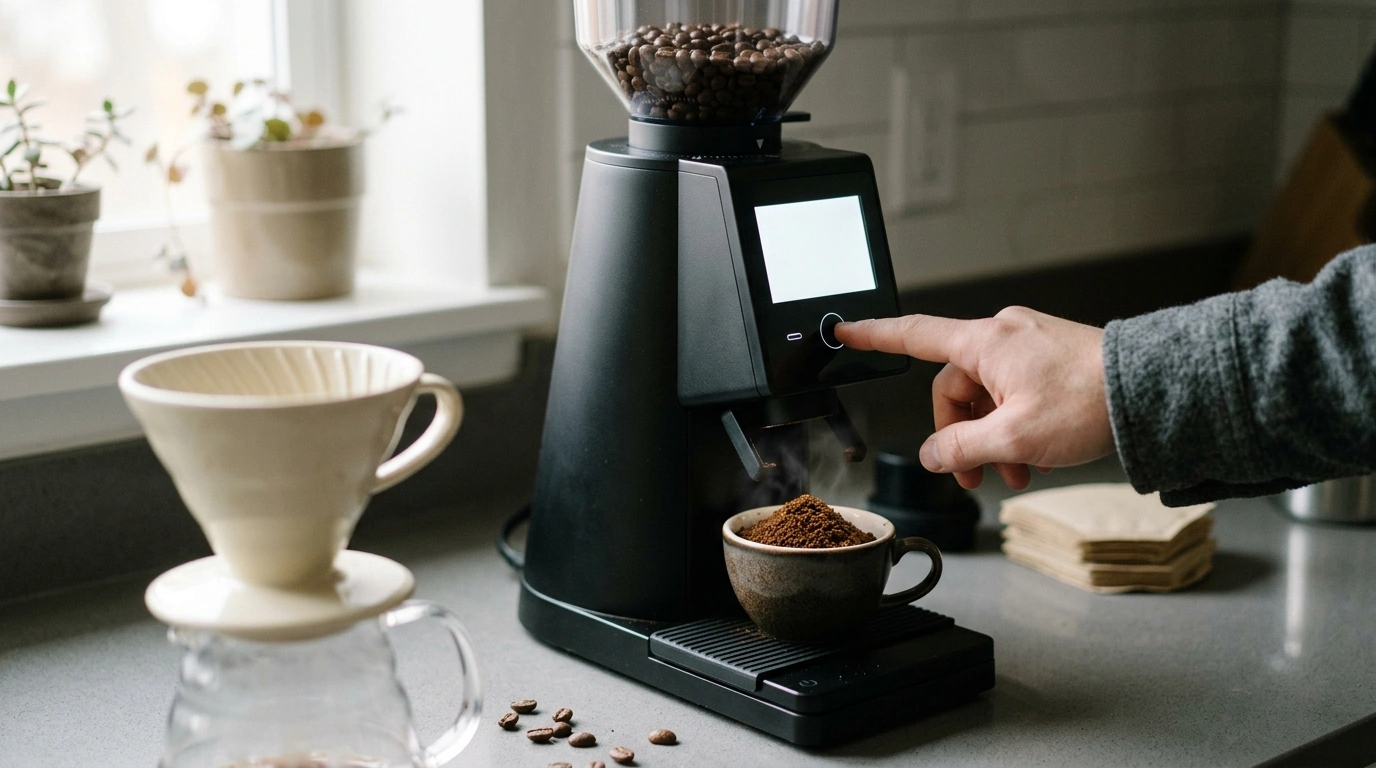
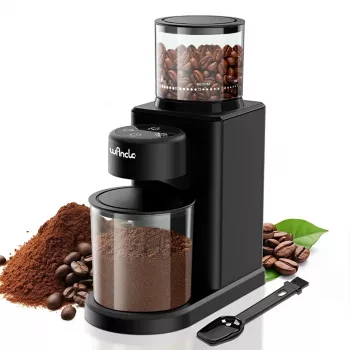
Freshly ground coffee changes everything—aroma, sweetness, and clarity show up immediately when grind size matches the way you brew. Our team built this routine around one idea: make grind changes quick, repeatable, and easy to live with day after day. The Electric Conical Burr Coffee Grinder with Touchscreen & 25 Grind Settings is designed for daily convenience: tap to adjust, grind with confidence, and return to the same number tomorrow with minimal trial-and-error.
Grind consistency is one of the biggest drivers of a balanced cup. Blade grinders tend to chop beans unevenly, producing a mix of boulders and powder. That mix can create a frustrating “both sour and bitter” result because small particles over-extract while large ones under-extract in the same brew.
Conical burrs crush beans more uniformly, which helps your brew time and flavor line up—especially in pour-over and espresso-style drinks where small grind changes can swing the taste. If you’re upgrading from a blade grinder, this is often the first change that makes coffee taste cleaner and more predictable.
For broader brewing guidance, resources from the Specialty Coffee Association (SCA) are a solid reference point for dialing in technique, while the National Coffee Association (NCA) offers practical tips on preparation and storage.
A grinder can be technically capable but still feel annoying to use. A touchscreen interface helps remove friction from the everyday steps: select a grind setting, start grinding, and keep moving. That matters most when you brew more than one style—say drip on weekdays and a French press on the weekend.
The easiest way to start is to choose your brew method, pick a reasonable range, then fine-tune based on taste and flow. As long as your recipe is roughly consistent (dose, water, and brew time), the flavor will tell you what to do next: sour/thin often points to grinding finer; harsh/dry/bitter often points to grinding coarser.
| Brew method | Suggested range (out of 25) | What to adjust for |
|---|---|---|
| Espresso-style | 1–6 | Go coarser if shots run too slow; finer if too fast |
| Moka pot | 5–10 | Finer for more body; coarser to reduce bitterness |
| AeroPress | 7–14 | Finer for shorter brew times; coarser for longer steeping |
| Pour-over / drip | 10–18 | Finer if weak/sour; coarser if harsh/astringent |
| French press / cold brew | 18–25 | Coarser to reduce sediment; slightly finer for more strength |
If you want results fast, keep everything else stable while you test. Pick one brewer and one recipe, then let the grinder setting be the only variable.
| Task | How often | Why it helps |
|---|---|---|
| Empty grounds area | After each use | Reduces stale flavors and buildup |
| Wipe exterior and controls | Weekly | Keeps operation clean and tidy |
| Brush/clean burr area (as applicable) | Every few weeks | Maintains consistent grind performance |
| Deep clean when flavors seem muted | As needed | Removes oils that can impact taste |
Start around 1–6 for espresso-style, 10–18 for pour-over/drip, and 18–25 for French press, then adjust based on taste and flow. If it’s sour/thin or runs too fast, go 1–2 steps finer; if it’s bitter/dry or runs too slow, go 1–2 steps coarser.
A conical burr grinder produces more uniform grounds, which helps extraction stay balanced and flavors taste clearer. A blade grinder creates a wide mix of particle sizes, which can lead to sourness and bitterness showing up together in the same cup.
Empty the grounds area after each use, wipe the exterior weekly, and clean the burr area every few weeks depending on how much you grind and how oily your beans are. If flavors start tasting muted or stale, it’s time for a deeper clean to remove built-up oils.




Leave a comment