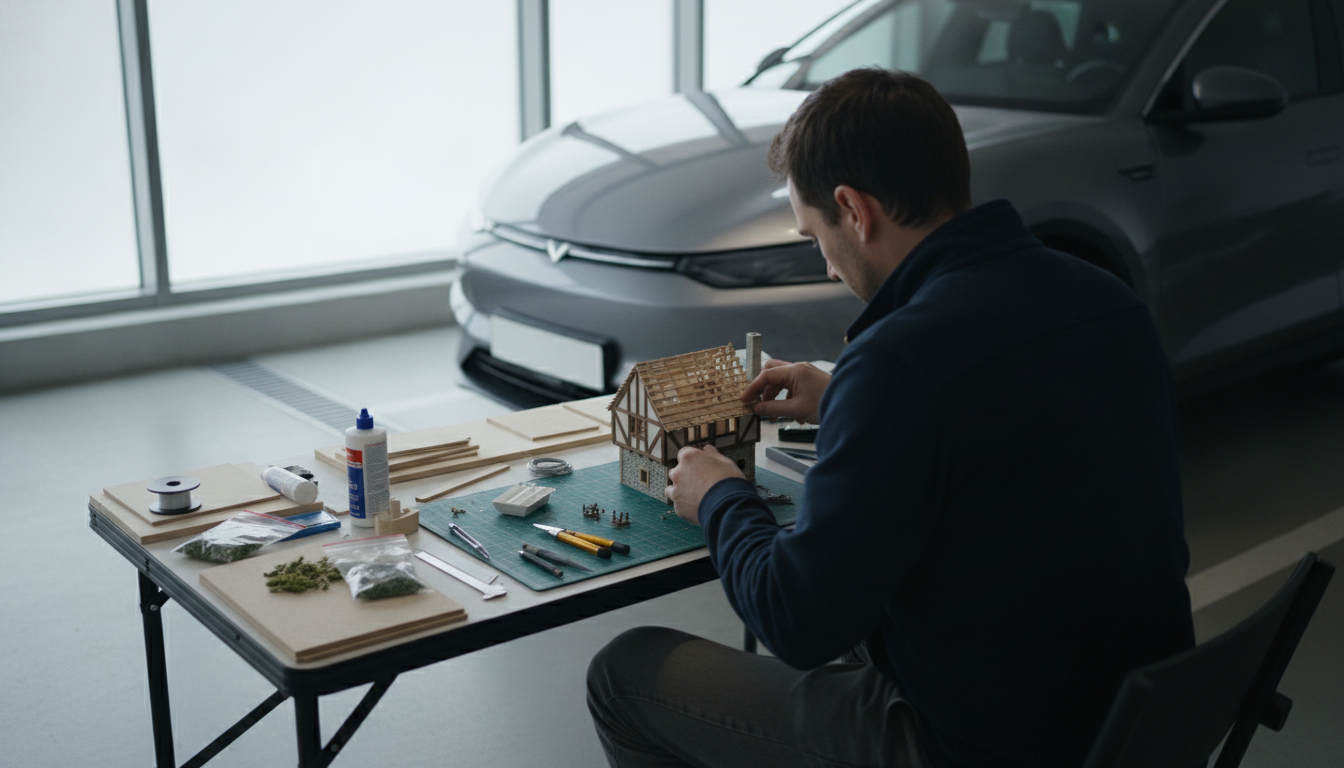
Building a custom model is easiest when you treat it like a workflow: plan the concept, shape the base, refine details, then finish and protect the surface. Working in stages keeps proportions consistent, prevents overworking small areas too early, and helps the final paint or coating look intentional rather than rushed.
Decide what the model needs to represent (character, product prototype, miniature, display piece) and how it will be used (handled, photographed, worn, or shelf-only). Collect reference images from multiple angles and note key dimensions, silhouettes, and textures before you start cutting or sculpting.
Pick a build method that matches the end use: foam or resin for lightweight forms, polymer clay for detailed sculpting, 3D printing for repeatability, or mixed media for strength and realism. Lock in the scale early so parts, accessories, and display bases fit without last-minute resizing.
Start with a sturdy core that holds proportions: an armature for figures, a block-out for vehicles, or a simple geometric base for props. This stage is about silhouette and balance, not surface detail—aim for clean, stable shapes.
Add material gradually and check symmetry and alignment often. Work from large forms to smaller ones, measuring key points (height, width, spacing) so the model stays consistent as details increase.
Once the main shapes are correct, add panel lines, folds, edges, and surface texture. Dry-fit any separate pieces (arms, doors, accessories) to confirm clearances and clean joins before committing to glue or permanent bonding.
Sanding and priming reveal imperfections; fix them before color. Apply paint in controlled layers, then seal with a finish that matches the look (matte, satin, or gloss) and protects the surface from handling.
For a full walkthrough from plan to final finish, see the detailed guide here: https://exelline.com/guide-custom-model-building-workflow-plan-detail-finish/.
A sharp hobby knife, cutting mat, sandpaper/files, measuring tools, and a reliable adhesive cover most basic builds. Add primers and a small set of brushes (or an airbrush later) as you move into finishing.




Leave a comment