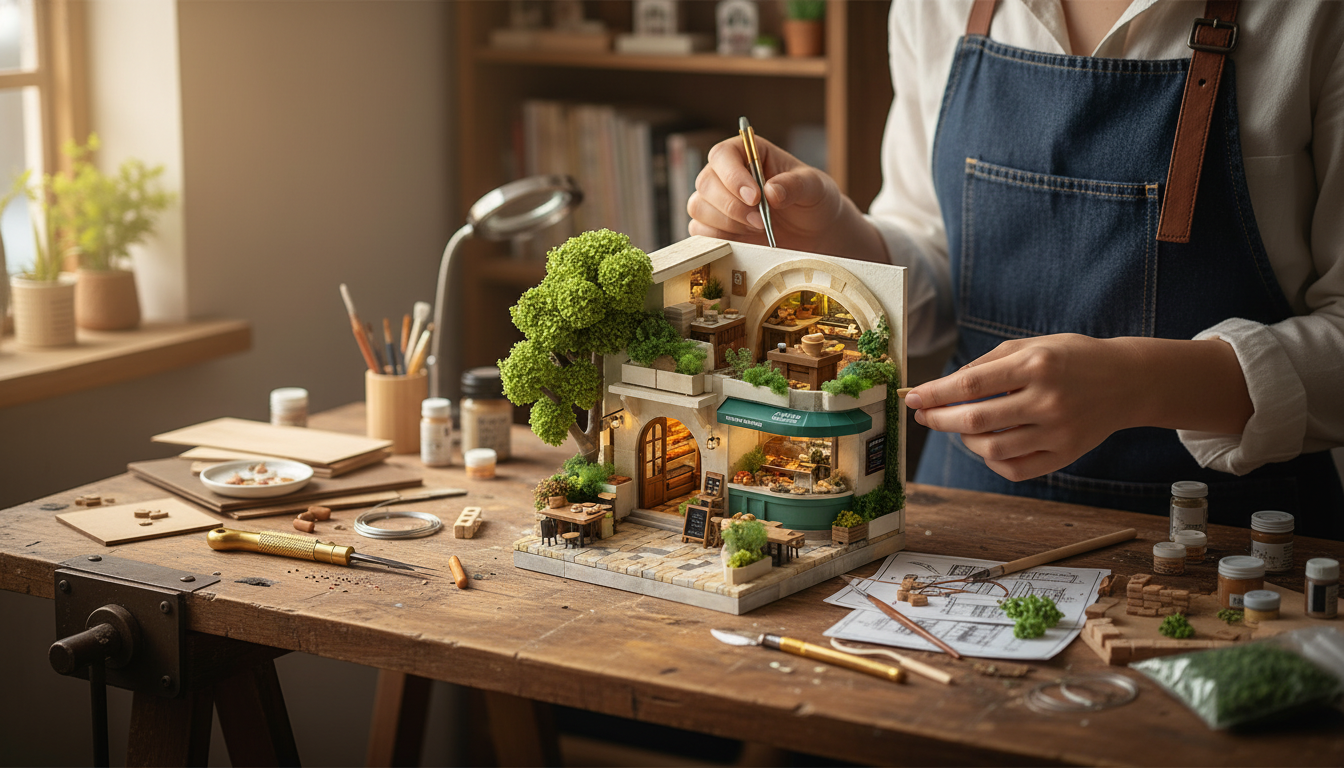
Custom model building is where small choices—materials, scale, structure, and finish—turn a rough concept into something display-worthy. A good plan keeps you moving, but the best builds also leave room for discovery. The workflow below is designed to be repeatable: you can use it for a one-off diorama, a scratch-built vehicle, or a hybrid project that mixes prints and hand-built parts. If you want a step-by-step reference you can keep open while you work, Build It Your Way and Watch Ideas Come Alive – Creative Guide for Model Builders is a quick, practical companion for planning, detailing, and finishing original builds. For more guidance, see Real Guide to Model Making: What to Use, Cut, and Skip.
A “build brief” sounds formal, but it’s really just a way to protect your time and prevent scope creep. Before you cut anything, write down a few decisions that will keep every later choice consistent. For further reading, see Architectural Model Making Tools for Beginners & Professionals.
Material choice is less about “best” and more about fit: edge sharpness, strength, how it accepts paint, and how quickly you can iterate. A foam terrain piece and a crisp sci-fi console want very different substrates.
| Material | Best for | Common pitfalls | Quick fix |
|---|---|---|---|
| Styrene | Panels, greebles, crisp geometry | Warping with too much solvent | Use thinner cement passes; clamp on a flat surface |
| XPS foam | Terrain, rockwork, massing | Melted surfaces from solvents | Seal with PVA/Mod Podge or acrylic primer before painting |
| Basswood | Frames, beams, structures | Fuzzy grain and uneven stain | Sand progressively; seal before paint or use conditioner |
| Resin prints | High-detail parts, repeatable components | Paint beading due to residue | Wash thoroughly; use a dedicated primer |
| Cardstock | Templates, prototypes, folded forms | Soft corners and delamination | Laminate layers; edge-seal with thin CA glue |
When you’re working with styrene, it helps to understand what it is and why it behaves the way it does under solvents; Polystyrene is a solid overview. For paint systems—especially when you’re layering thin coats—Acrylic paint is a useful baseline reference.
Custom projects feel chaotic when you jump straight to tiny details. This order keeps you from locking in mistakes early.
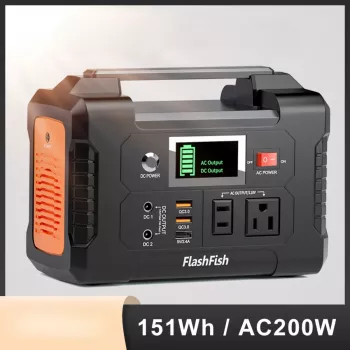
If your build includes lighting, a portable power option can make bench testing easier (especially for convention setups or garage work). The Portable 200W Solar Generator with AC Outlet & USB Ports can support small tools, chargers, or a lighted display without hunting for an outlet.
When you need momentum, pick an idea that’s “small enough to finish” but still teaches a transferable skill.
For projects that need a deep gloss on non-porous surfaces or accents—like display bases, faux leather straps, or “freshly painted” panels—the Car Plastic & Leather Restorer – Back to Black Gloss Coating & Polish can be useful for select applications. Always test on a spare piece first to confirm compatibility with your primer and clear coats.
Write a short build brief (purpose, scale, non-negotiables), gather a small reference board, and do a quick blockout in cheap materials to confirm proportions. A simple checklist for scale consistency, material compatibility, and finish level prevents most rework.
Concentrate detail near focal points, break up large surfaces with panel lines and subtle texture changes, and use controlled weathering to show use and environment. Consistent scale cues and a limited texture palette often read more “real” than extra micro-parts.
It usually comes from residue, skin oils, or using the wrong primer for the substrate. Wash and degrease, lightly scuff if needed, then apply a compatible primer before thin topcoats.





Leave a comment